
Introduction to Netlify
Netlify is a powerful deployment platform known for its speed, reliability, and seamless integration with version control systems like GitHub. It supports hosting static files, static site generators, and serverless functions.
Create a Netlify Account
- Visit Netlify.
- Click on “Sign Up” to create a new account.
- You can sign up using your GitHub account or provide the required information to create a new Netlify account.
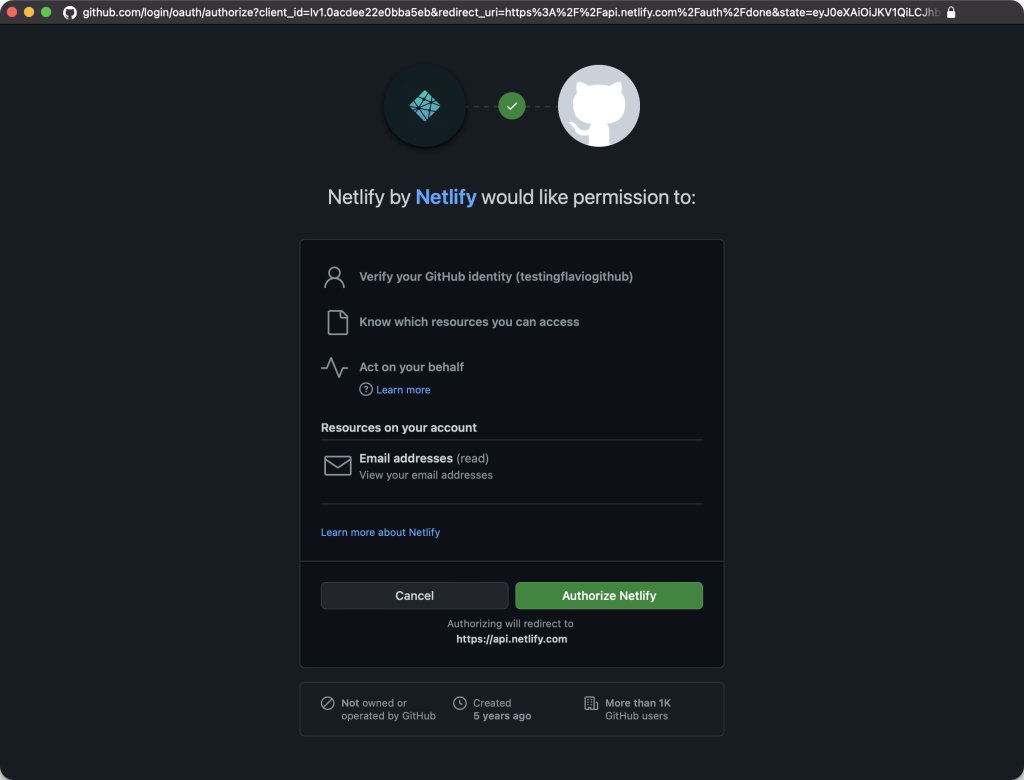
Connect GitHub to Netlify
- After creating an account, log in to your Netlify dashboard.
- Click on the “New site from Git” button.
- Choose GitHub as the continuous deployment source.
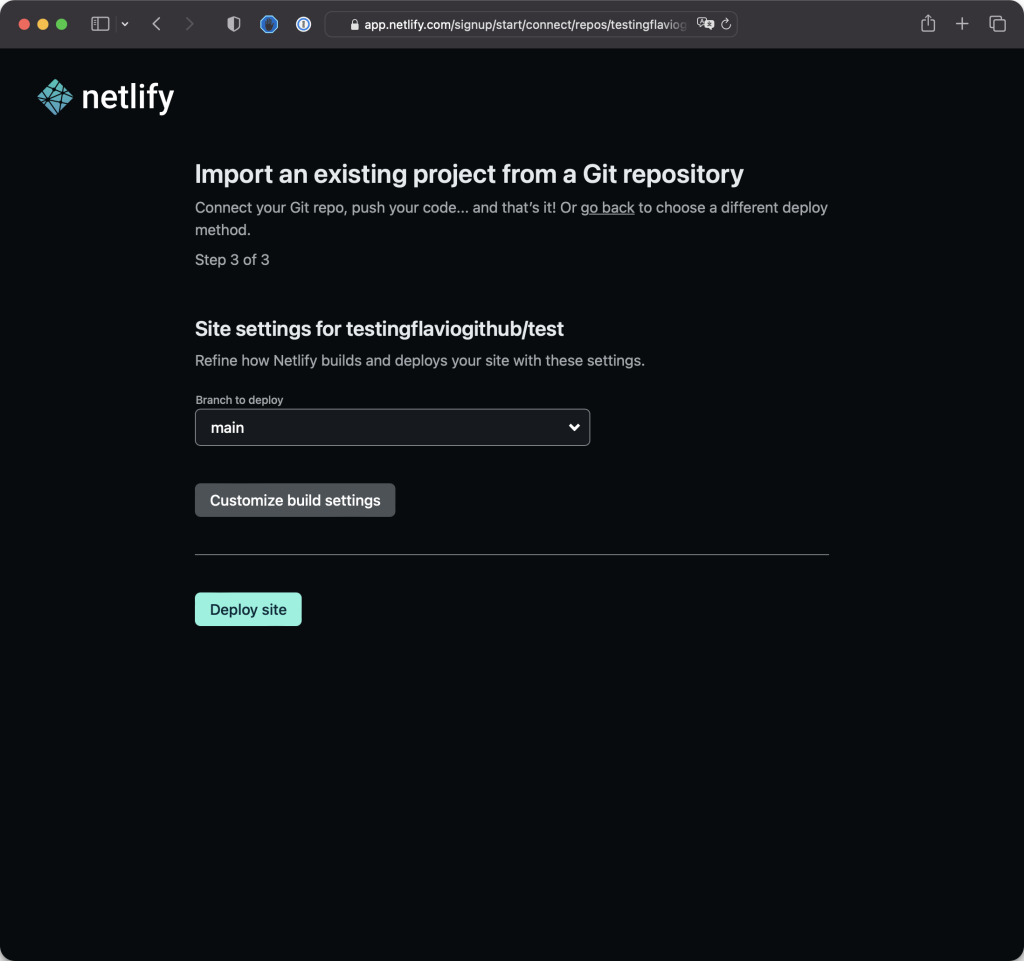
Deploy a GitHub Repo on Netlify
- Select the repository you want to deploy.
- Configure your build settings. For a simple HTML site, the default settings should work.
- Click on the “Deploy site” button.
Make a Local Change and Deploy
- Clone your GitHub repository to your local machine.
- Make changes to your HTML files or any other assets.
- Commit and push the changes to your GitHub repository.
- Netlify will automatically detect the changes and redeploy your site.
View the Deployment
- Go back to your Netlify dashboard.
- You’ll see a new deployment triggered by your recent push.
- Once the deployment is complete, you can visit the provided Netlify URL to view your live site.
Additional Tips
- Netlify provides features like custom domains, serverless functions, and more. Explore the settings in your Netlify dashboard to customize your deployment.
- For advanced projects, you can explore static site generators like Hugo or Gatsby and leverage Netlify’s features for a seamless deployment pipeline.
By following these steps, you’ll be able to deploy and update your website with ease using Netlify. Feel free to explore more features offered by Netlify to enhance your web development workflow. Happy coding!
